Settings Page
Navigate to Settings under EchoAI in the WordPress Admin Dashboard.Icon
Customize the icon displayed for the AI assistant’s floating chat button and in the chat interface.- Click on the “Select Image” button.
- Choose an image from your media library or upload a new one.
- Select the image and click “Insert.
Recommendation:
Use a clear, recognizable image that represents your brand or the AI assistant.
Optimal dimensions are 50x50 pixels for best display quality.
Post Types
Select which types of content the AI assistant is allowed to index by the assistant and use to generate responses. Your custom post types will be listed here – but by default, the assistant will be allowed to index posts and pages (default WordPress content types).
You have to enable the custom post types you want to index manually.
Once you change the enabled post type the plugin will redirect to the setup page to discover the new content.
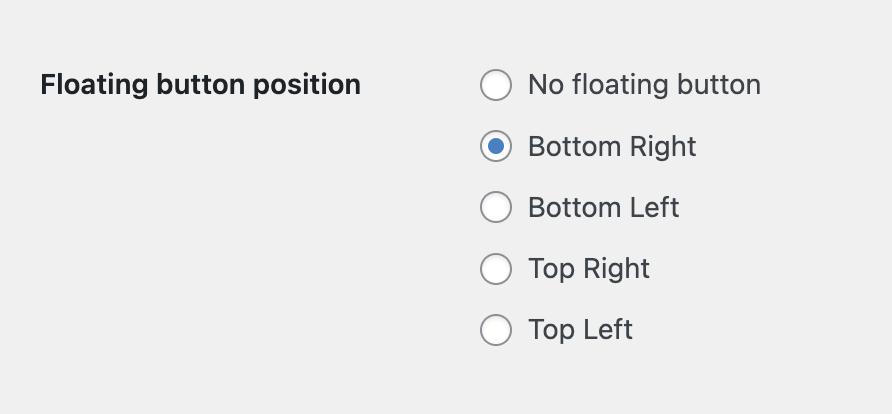
Floating Button Position
Select where on the page the floating chat button should be displayed. By default, the button will be displayed on the bottom right corner of your site. You can turn off the button by choosing No floating button.
About Your Website
Provide additional context about your website to help the AI assistant better understand and respond to user inquiries. Include details like the site’s purpose, main topics, target audience, and any special features. This enhances the assistant’s ability to generate accurate and relevant responses.

