> ## Documentation Index
> Fetch the complete documentation index at: https://docs.echowp.com/llms.txt
> Use this file to discover all available pages before exploring further.
# Gutenberg Block
> How to Use the EchoAI Gutenberg Block
The EchoAI Gutenberg Block makes it easy to integrate the AI assistant into any page or post on your WordPress site. With just a few clicks, you can add the assistant and customize its appearance and placement.
 ## How to Use the Gutenberg Block?
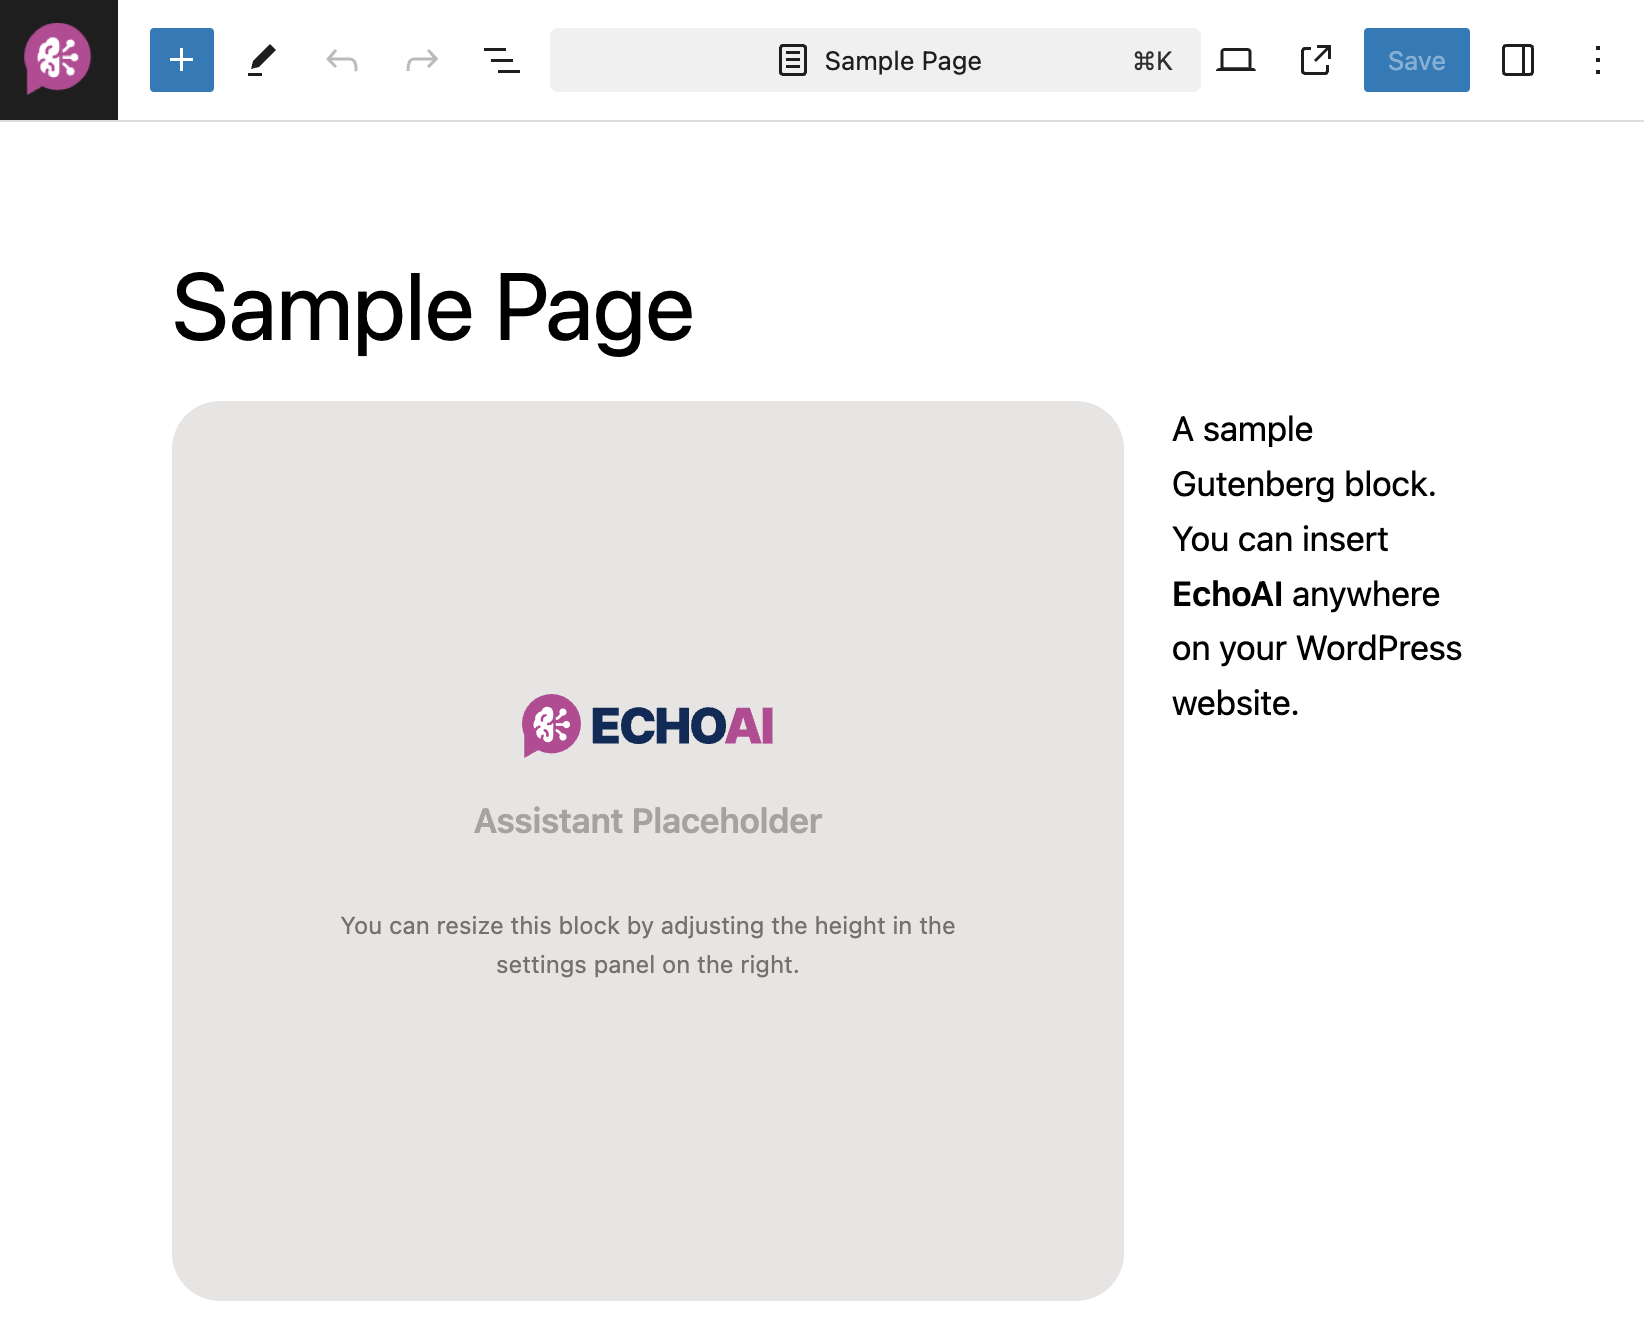
Open the Gutenberg editor for the page or post where you want to add the assistant.
* Click the **Add Block (+)** button at the top left or within the content area where you want the assistant to appear.
* In the search bar, type **“EchoAI Chat”** and select the block from the results.
## How to Use the Gutenberg Block?
Open the Gutenberg editor for the page or post where you want to add the assistant.
* Click the **Add Block (+)** button at the top left or within the content area where you want the assistant to appear.
* In the search bar, type **“EchoAI Chat”** and select the block from the results.
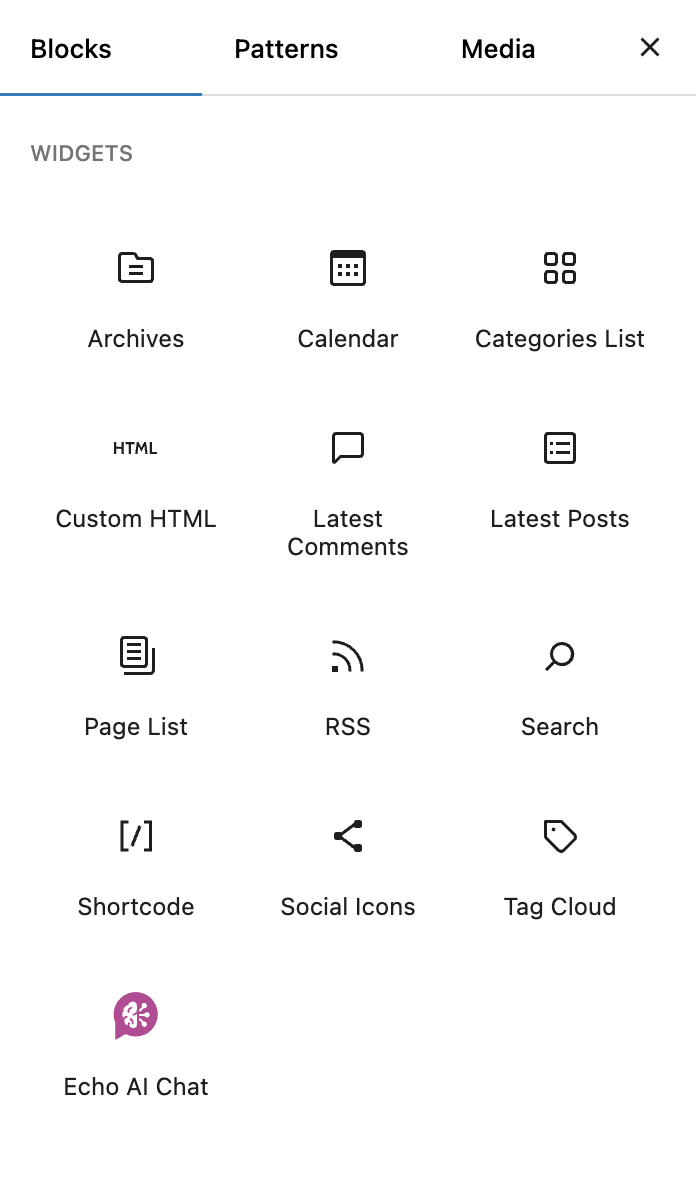 * Once added, you can customize the block’s placement by dragging it to the desired position.
* Adjust the block's height in the sidebar as needed. The default height is 400px.
* The block will automatically adjust its width to fit the available space.
Customize the assistant
>
Read how floating button works.
Read how to use the `[echo_ai]` shortcode.
* Once added, you can customize the block’s placement by dragging it to the desired position.
* Adjust the block's height in the sidebar as needed. The default height is 400px.
* The block will automatically adjust its width to fit the available space.
Customize the assistant
>
Read how floating button works.
Read how to use the `[echo_ai]` shortcode.