> ## Documentation Index
> Fetch the complete documentation index at: https://docs.echowp.com/llms.txt
> Use this file to discover all available pages before exploring further.
# Floating Button
## How the Floating Button Works?
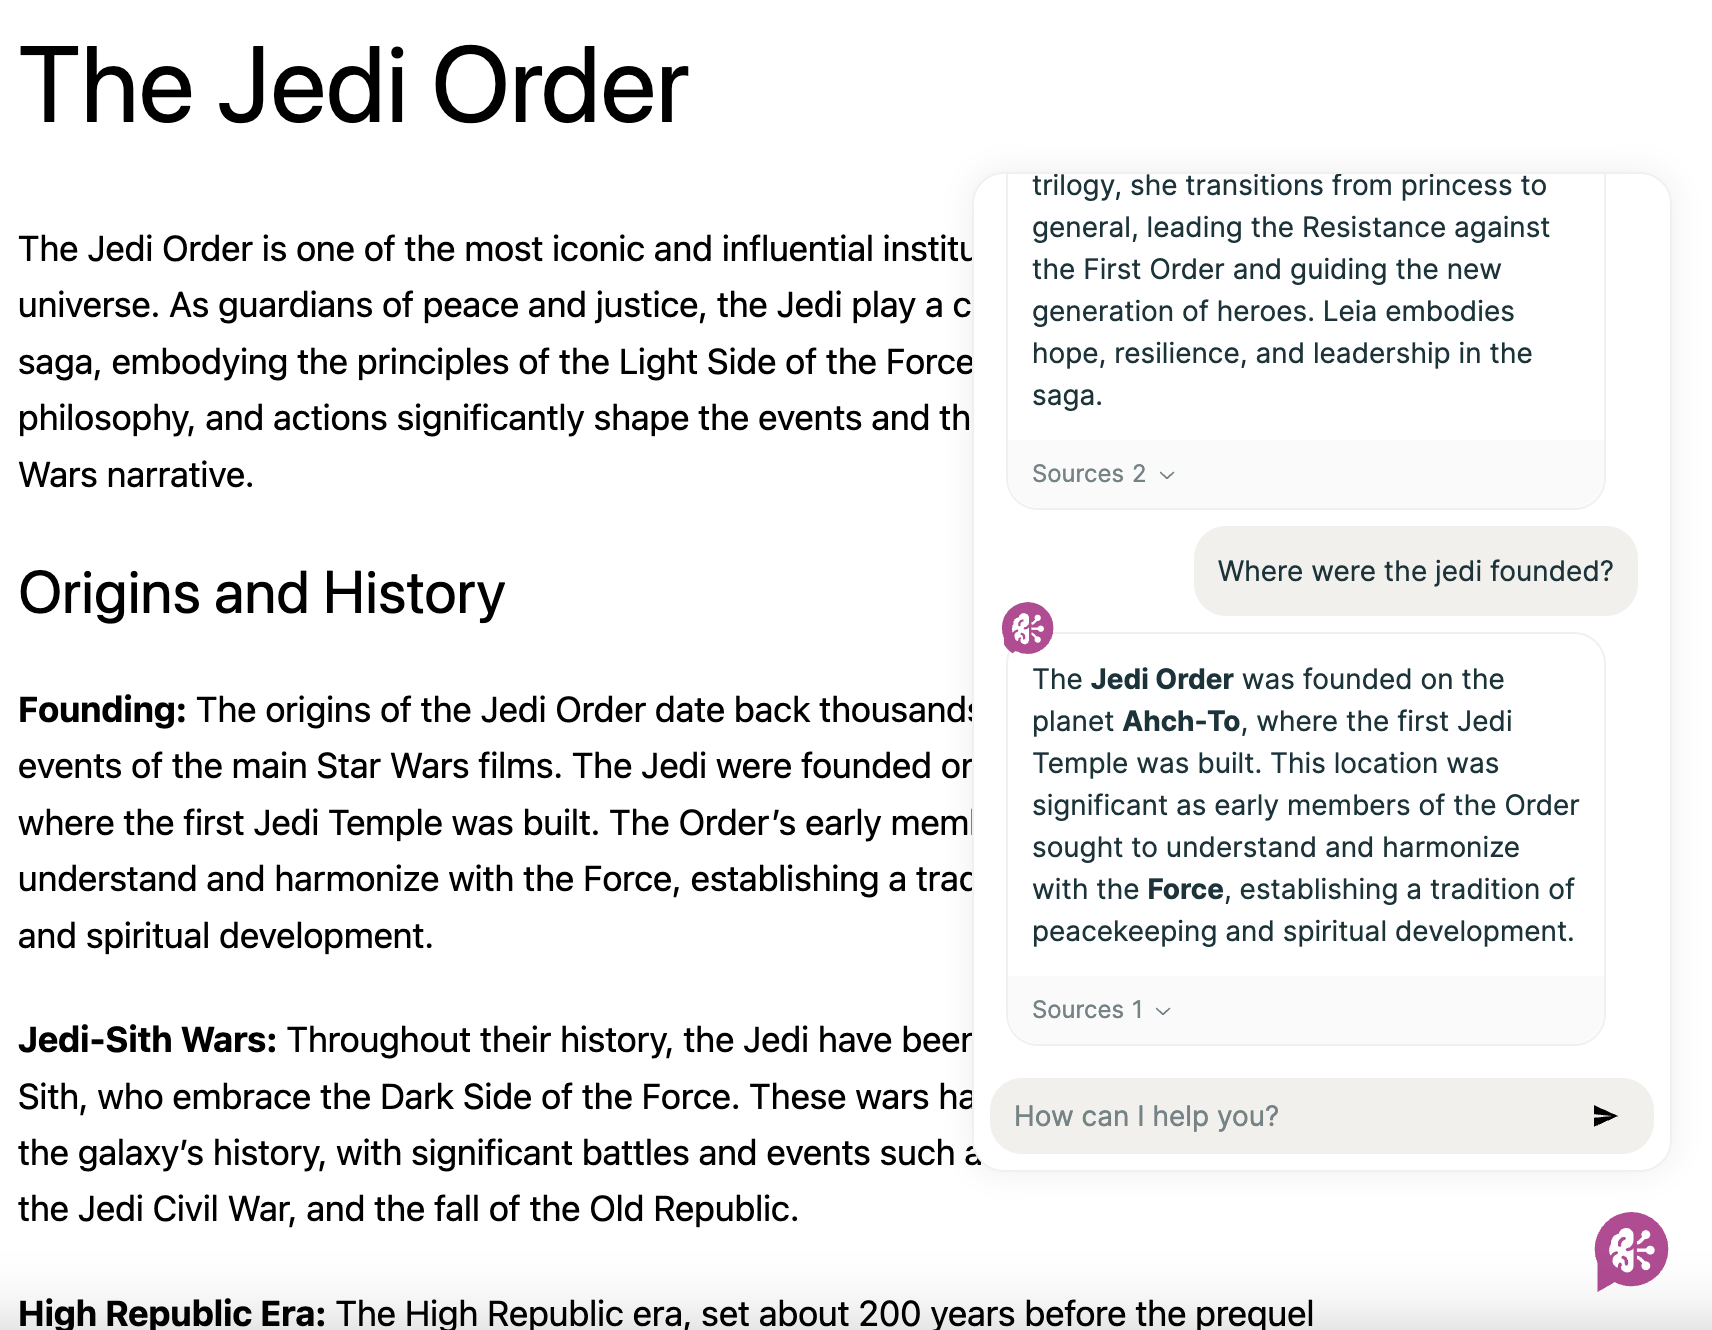
The floating button is the main way visitors interact with the EchoAI assistant on your site. It provides a quick and convenient entry point for users to ask questions and receive AI-driven responses based on your content.
It allows visitors to get real-time answers without having to navigate through multiple pages.
 ### Default Behavior:
The floating button is turned on by default and will automatically appear once your website’s indexing is complete.
### Customization:
You can control the button’s position (e.g., bottom-right, top-left) or disable it entirely via the Settings page.
Additionally, you can customize the icon to match your website’s branding.
Please refer to the [Settings](/manual/settings) page for more information.
Customize the assistant
>
Read how to use the Gutenberg block.
>
Read how to use the `[echo_ai]` shortcode.
### Default Behavior:
The floating button is turned on by default and will automatically appear once your website’s indexing is complete.
### Customization:
You can control the button’s position (e.g., bottom-right, top-left) or disable it entirely via the Settings page.
Additionally, you can customize the icon to match your website’s branding.
Please refer to the [Settings](/manual/settings) page for more information.
Customize the assistant
>
Read how to use the Gutenberg block.
>
Read how to use the `[echo_ai]` shortcode.